'DaDa Dah, diddler, DaDa Dah, diddler, DaDa Dah.....'
Episode Three in our Mighty War of 1812 Sharp Practice Saga!
"The
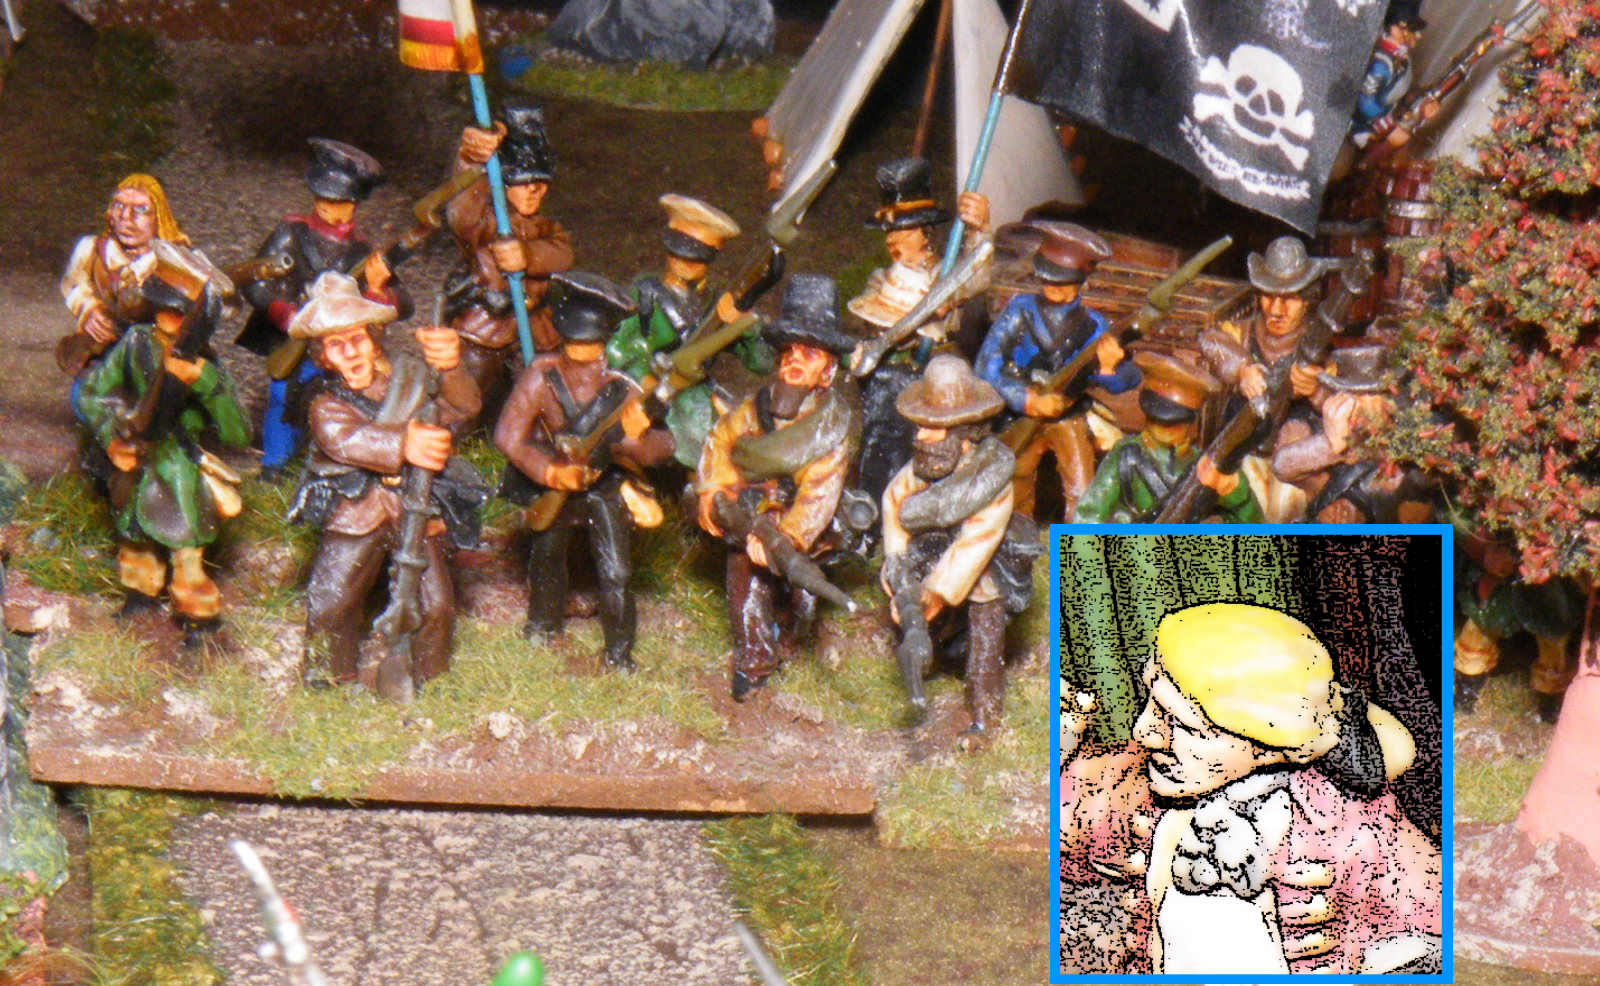
Heroic British forces led by 'The Lord Horris Johnson' have completed a successful rescue bid for the British Spy 'Nancy Promiscue',
Leader of the Tavern. A skirmish broke out with US units camped around the Tavern. A ceasefire was called by both sides for a few hours. Hurredly reinforcements within distance, march to the sound of battle. Both sides now aim to destroy the other."
STARRING
The Bad Guys
 |
Colonel Davy Sprockett - Level III Leader
Commanding 3 units of US Regulars |
 |
Captain Donald Thump - Level II Leader
Commanding 2 units of US Militia |
 |
Lt Ronny Pagan - Level I Leader
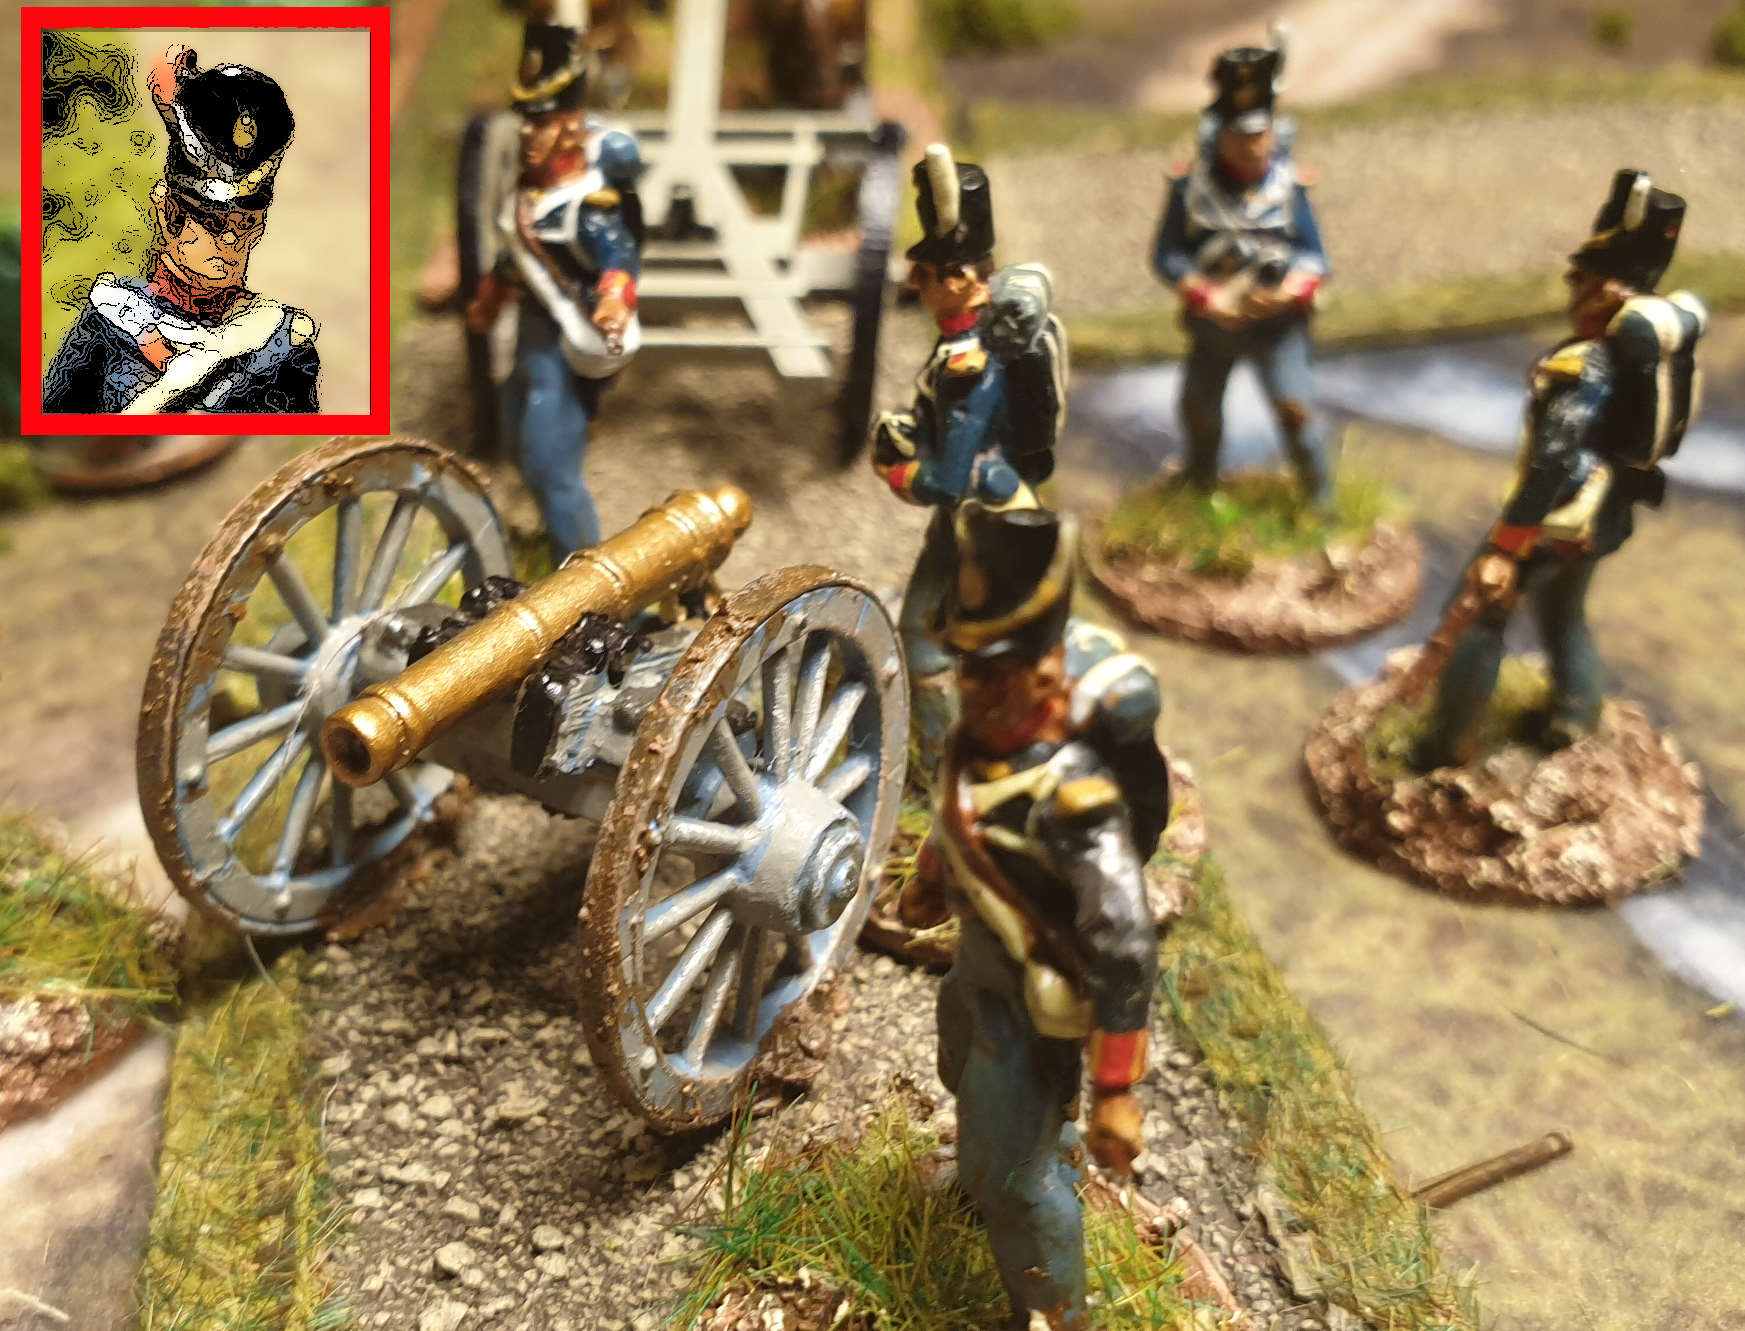
Commanding a US 6 Pdr Gun |
 |
Lt Lyndon Sponson - Level I Leader
Commanding a unit of US Irregular Skirmishers |
 |
Sgt Jimmy Farter - Level I Leader
Commanding a unit of US Bravos |
 |
Sgt Richard Vixon - Level I Leader
Commanding a unit of US Light Infantry |
 |
Lt Gerald Bored - Level I Leader
Commanding 2 units of US Regulars |
STARRING
The Good Guys
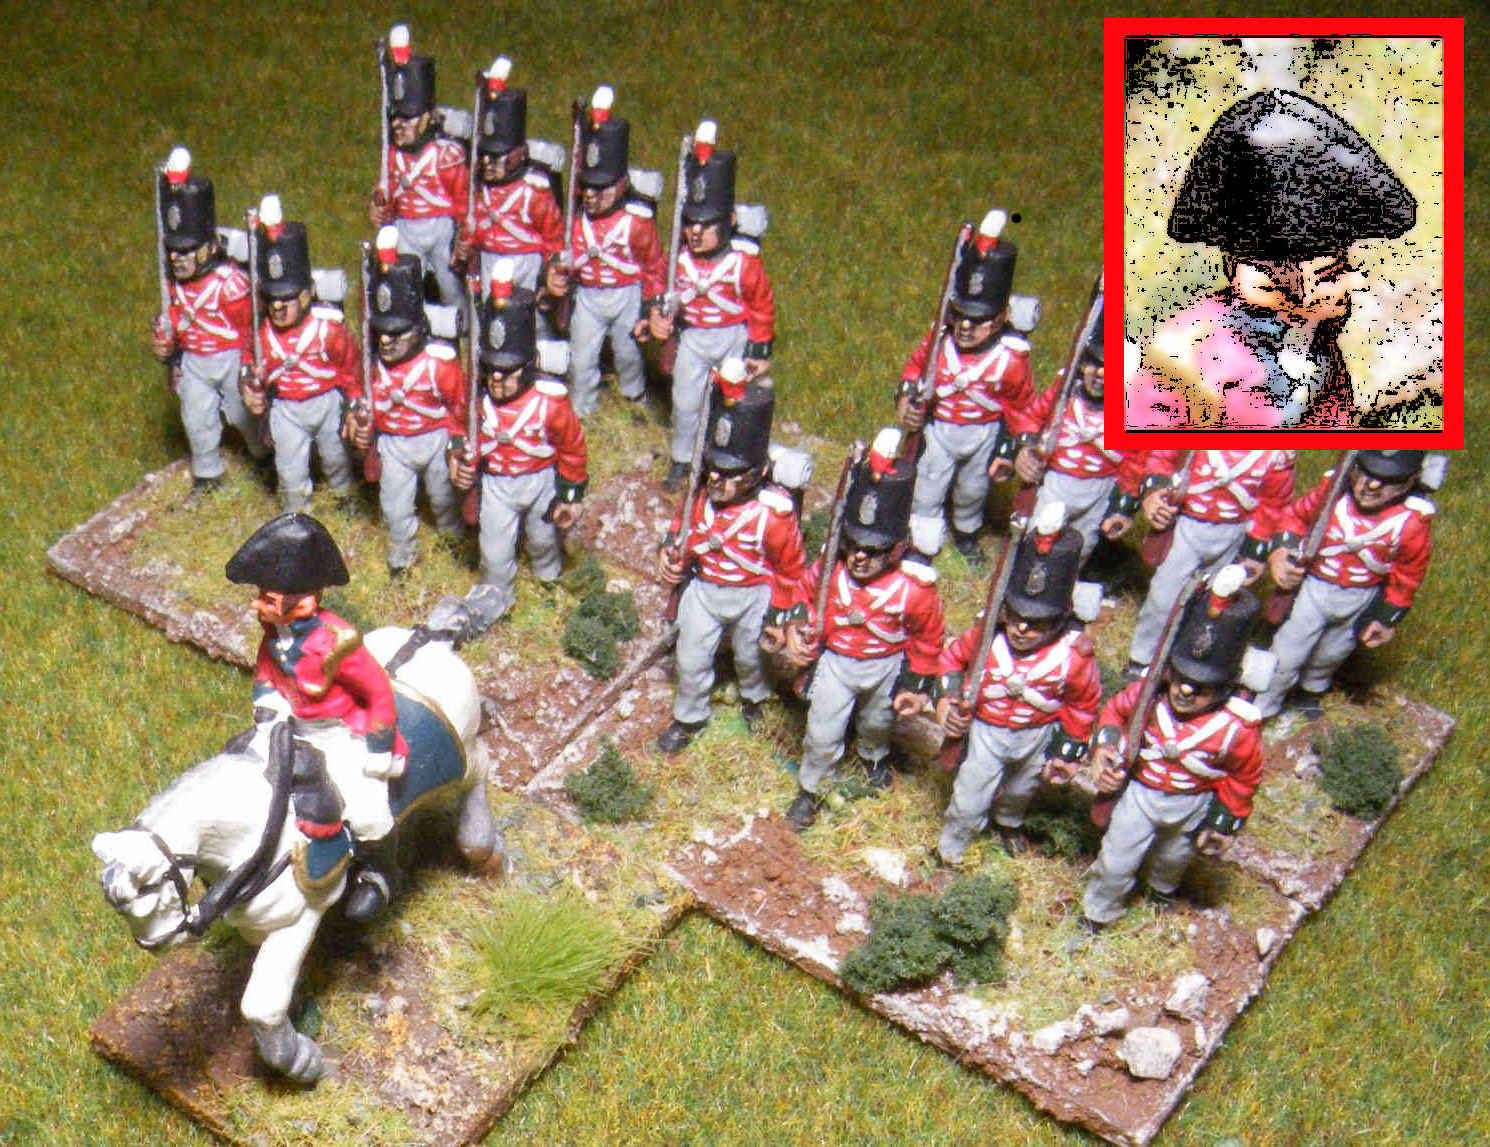
Major The Lord Horris JOHNSON - Level III Leader
Commanding 2 units of British Regulars of XIX "Green Howards" |
 |
Captain Harold Kilson - Level II Leader
Commanding a unit of British Cavalry |
 |
Chief Little Bear - Level II Leader
Commanding a unit of Indian Skirmishers |
 |
Lt David Cockerman - Level I Leader
Commanding a unit of British Light Company |
 |
Lt Gordon Frown - Level I Leader
Commanding a unit of British Regulars |
 |
Lt James Kallaghan - Level I Leader
Commanding a British 6 Pdr Gun |
 |
Lt John Rajor - Level I Leader
Commanding a unit of British Regulars |
 |
Sgt Tony Flair - Level I Leader
Commanding a unit of British Light Company |
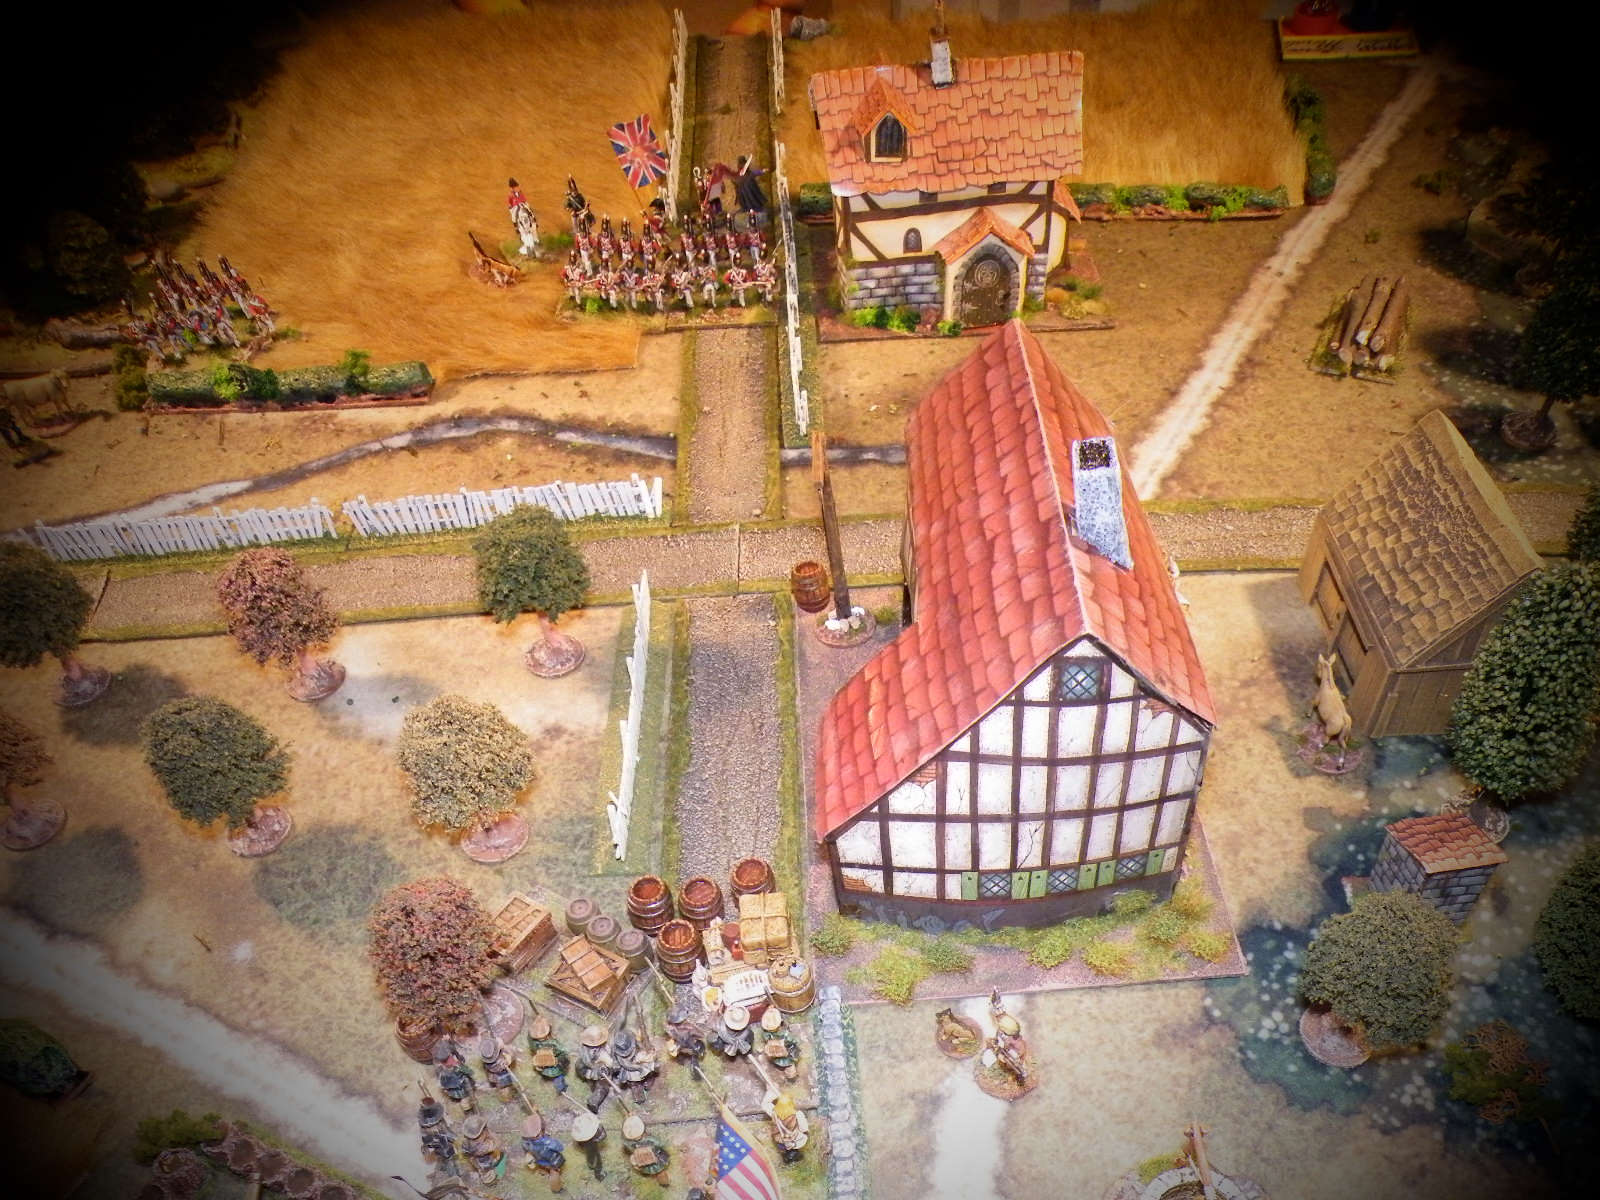
The Battlefield
 |
| Starting Morale |
The Story
 |
'Kick-off' with the US cannon opening on the British.
|
 |
| Lt. John Rajor advances towards the orchard. |
 |
| Sgt. Tony Flair leads his lads forward. |
 |
| The British Light Dragoons arrive. |
 |
| US Regulars march to the camp. |
 |
| Here comes Sgt. Farter & his band of ne'er-do-wells. |
 |
| The British cannon arrives. |
 |
| Lt. Frown brings his lads forward to cover the woods |
 |
| Little Bear spies Farter! |
 |
| The US Irregular Skirmishers advance to snipe at the British Regulars. |
TURN THREE
 |
| Sprockett's card is drawn early, however deploying is rather tight. |
 |
| Great view of the centre of the battlefield. |
 |
| These units hold the British left flank |
 |
| It would be long afternoon for Lord Johnson. |
 |
| The British cannon deploys but its firepower proves disappointing. |
 |
| Farter's Bravos close with the Indians. |
 |
| Johnson wheels to face Sprockett. |
 |
| Most of the forces have now engaged. |
 |
| View from the British left side of the field |
 |
| The centre of the British line. |
 |
| The right of the British line. |
TURN FIVE
 |
| Lt. Frown's unit takes some hits |
 |
| Lt. Rajor advances on the US cannon. |
 |
Both of us would make frequent use of 2 command cards
to 'Sharp Practice' reloading. |
 |
| Sprockett's lads take some hits. |
 |
| Sprockett versus Johnson. |
 |
| The British unit coming off worse. |
 |
'OOOhh', we've been waiting for this one...
Farter charges in. |
 |
| The British Light Dragoons advance, a charge is coming up! |
 |
| The US Regulars deploy into line. |
 |
| 'BOOOMM!' |
 |
| A horrendous amount of Shock..... |
 |
The 'Farter boys' come up short on the movement dice.
More cardio needed, less 'Beer & Baccy' lads... |
TURN SIX
 |
'Move over men!'
The Light Dragoons are coming... |
 |
| This time Farter's lads charge in... |
 |
A humongous amount a dice are rolled,it's a bloodbath & Lt. Gordon Frown is killed.
The British come out on top though! |
 |
Sgt. Farter is knocked out.
Eugene & Adolf drag him away.... |
 |
| The Force morale. |
 |
| The battle in the centre would be fierce. |
 |
| Overview |
 |
| The British line is getting thinner. |
 |
| US musketry is coming up tops. |
 |
| However the US morale rolls are poor. |
TURN SEVEN
 |
| The British Light troops work their way along the hedgerow. |
 |
| The US cannon crew have been picked off. |
 |
| SPAV decides to change his mind over the 'Battleplan'. |
 |
| He is going to try & crush the British centre. |
 |
| Nice view from the British right flank. |
 |
The British Light Dragoons charge in.
However, there's no extra command cards to enhance the attack. |
 |
The result is a draw.
Both leaders are knocked out. |
 |
Straight into another round of Fisticuffs,
this time the Light Dragoons number of combat dice drops. |
 |
| The US win the Fisticuffs, the Light Dragoons peg it! |
 |
| Lt. Ronny Pagan is turning into a US Legend! |
 |
| That closes the morale. |
TURN EIGHT
 |
| Sprockett's card is drawn, SPAV uses 3 command cards to help out. |
 |
| At last Donald Thump comes to life. |
 |
| He marches to attack the British centre as well. |
 |
| Thump directs Pagan. |
 |
| The British Light troops get a whiff of grapeshot. |
 |
| The British cannon performs woefully again. |
 |
Little Bear with his remaining Indians goes hunting...
|
 |
It's action all round now.
TURN NINE
|
 |
With the Indians in hot pursuit. Eugene & Adolf manage
to carry Sgt. Farter from the field. |
 |
| However it's another poor US morale roll & a massive hit. |
 |
| SPAV throws everything into the battle now. |
 |
With musket volleys being below average all day,
SPAV decides to make a column attack. |
 |
| Sprockett is ready to pounce. |
 |
| The British Light troops attempt to recover the injured Captain Kilson. |
 |
| With his prey escaping, Little Bear now advances on the US Deployment point. |
 |
| Lt. Pagan is at it again..... |
 |
| 'BOOOOMMM'! |
 |
It could of been a lot worse, the British Light troops fall back.
They have rescued the injured Cpt. Kilson. |
 |
| It is still close. |
 |
| I've given up on this lot. |
 |
| The march of the Thumpster. |
 |
The Lord Horris Johnson rallies the lads.....
The remaining troops from Lt. Frown's command joining the line. |
 |
| 'CCCHHARRGEE!' |
 |
| The US Militia pile in & easily win the Fisticuffs. |
 |
'RUN! Johnny RUN!'
Lt. Rajor & his men peg it.... |
 |
| 'USA! USA! USA!' |
 |
| NO!!!!! |
TURN TEN
 |
| Three US units now advance on the British centre. |
 |
| Totally combat ineffective.... |
 |
| The US Regulars led by Lt. Gerald Bored run in for a Fisticuffs. |
 |
| The hunting hounds attack. |
 |
The US forces a repulsed but both sides lose morale
on the 'Bad Things Happen' table. |
 |
| 'STAND Boys, STAND!' |
 |
| Sprockett senses a great victory. |
 |
| The US Militia unleash a volley, but its pants... |
 |
| Sprocket dallies & advances closer hoping to unleash a mighty volley next round. |
 |
| The Lord Horris Johnson rallies the Brits & dresses the ranks. |
 |
| Operation Interdiction, Little Bear captures the US Deployment point. |
 |
SPAV is gurning, it's a devastating morale roll.
The US force is on the edge of breaking. |
 |
With this round nearly over, there is only one unit card
left to be drawn before the Tiffin card....... |
 |
Lt. David Cockerman leads his Light troops,
they surge out the building & hit Sprockett in the flank. |
 |
HA! It's a wondrous display of dice rolling,
the US troops lose the Fisticuffs. |
 |
| 'V' for VICTORY!!!!!!!!!! |
Oh my word, that was one of the closest games we have ever had. It could of gone either way on that last round. The main British force was on the edge of breaking, one more US volley would of broken them. We both made big mistakes with our deployments. I should never have split up the main British force, the two small elements were made ineffective quite quickly.
The British Cavalry did what British Cavalry did, heroically died after a charge. Though to be fair, the Sharp Practice lists are spot on, in that you need a few extra command cards to handle them in combat. I think for Cavalry in general, to be more effective, you are going to need TWO units combined, but we will test that one out in our Peninsular games.
My Fuji Finepix camera finally died halfway through this battle & I had to switch to my Samsung phone to take the pix. I shall see what price Blogger exacts as the size of the photos has now increased for this post....
I am in the process of relocating my Wargames Shed after 'She who must be obeyed' decreed that she wanted the space it occupied for a 'bigger garden'. For the sake of world peace, I stupidly agreed. I have now had to dismantle the entire War Bunker, rebuild it, but I am nowhere near getting it back into working order. Gaming will have to take a backseat for a while.....zzzz